Being creative is never out of fashion no matter if it is in an artistic or a technical world. The first thing that comes to mind after reading the above line is about PAINT.
Do you always get confused in finding your controllers or often get mistaken if you are lucky enough to own a lot of them?
Don’t worry we have the most creative solution for you. That is how to paint a gamecube controller in order to be able to differentiate amongst them.
Be patient while playing with colors preferably use spray paint or Acrylics. Let’s see how to do it.
How To Paint a Gamecube Controller
Materials and Tool You Neeed
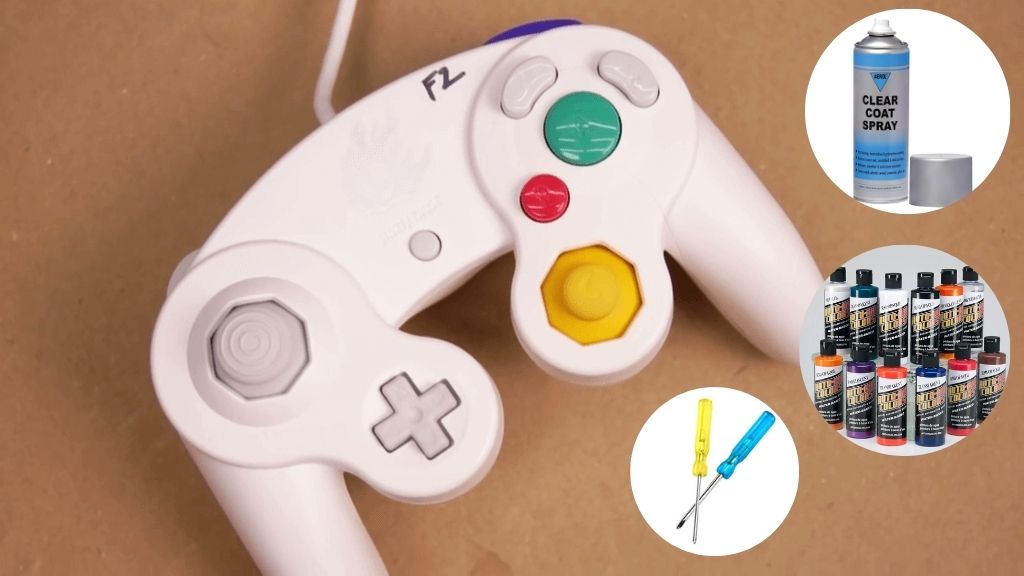
In this blog, we will make sure to suggest to you the best materials and types of equipment regarding the same.
You will never get disappointed by the fact that some materials are way more expensive and you can afford better alternatives at a lower price.
But make sure you always use high-quality products. You should get it yourself.
- Airbrush paints
- Gloss black and white primer
- Paint markers
- Gloss and matte lacquer
- Rotring pens
- Triwing and Philips head screwdrivers
- Fine grade sandpaper or glass paper
- Phosphorescent gel (that glows in the dark).
Cleaning Your Controller
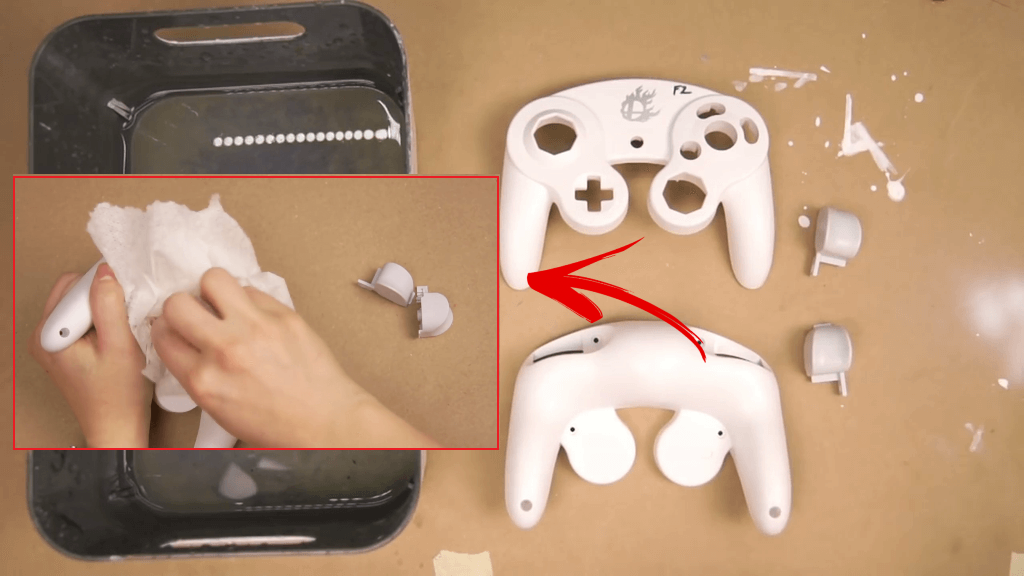
Your controller is rank. Clean that gunk out of it.
- If you are using a brand new controller just skip this part. However, if you are going with the old one first step is to clean the controller.
- Use a cotton bud by dipping it thoroughly in the cleansing liquid. Lightly, rub the area which surrounds the motherboard.
- Fairly dry the cotton bud to clean the thumbsticks placed inside. You can also use any needle to remove the stubborn bits.
- Leave the buttons in a cleansing cup with the screws and pressure pads till then clean the shell.
- Now, clean the edges and the part present inside the buttonholes. Keep in mind to dry it before sanding it.
- For cleaning the shoulder buttons hold them to avoid the spring going apart.
- To clean the shell, swirl the buttons around. Once you are done, drain the water completely and dry out the buttons.
- Make sure you don’t lose any screw or button in this process.
Sanding: Preparing The Ground For The Creative Part

- Use good quality glass paper or sandpaper to remove the paint already present on the controller.
- Sanding is necessary for the primer to stick properly on the surface. So, try to clean the button holes neatly.
- Make sure you clean all the corners it will need some effort surely but it is mandatory.
Priming: The Last Step Before Painting
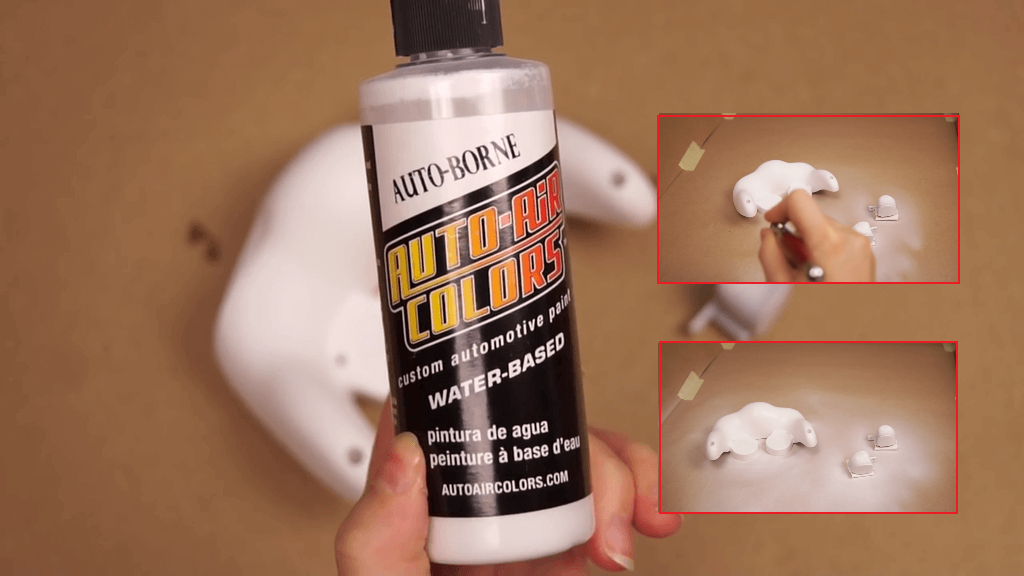
- Now put your controller on a surface that is free of dust particles.
- Use the white color of primer to cover the overall surface of the controller with a thin layer. Avoid the pooling.
- Let the first layer dry properly before applying the next layer & every part left will be covered in the next layer.
- If you feel like the covering is done then check for drips or extra layers & clear it out with sandpaper.
- If some parts rub off because of sandpaper then put a thin layer again.
Painting Controller
- You can try any effects with your airbrush by trial & error method.
- If you are not really confident about it then first try it on paper or plastic.
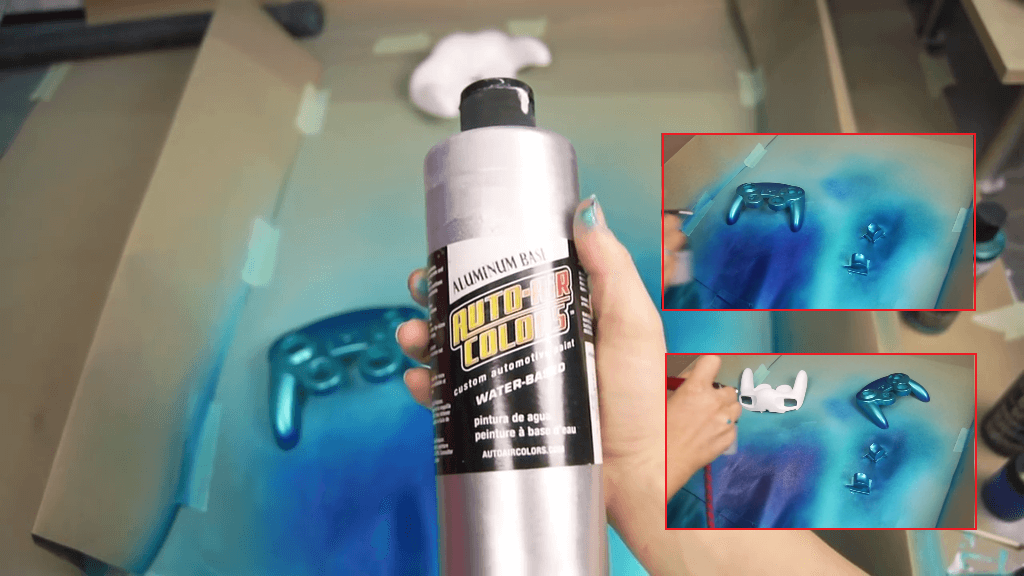
- Make sure your brush is clean and free from any paint before use. Start painting with the black color & don’t let it sputter too much.
- Without worrying about the consistent covering make a thin layer of the black paint.
- When you are satisfied with the covering let it dry and get ready to choose the base colors.
- While spraying you can use a screwdriver for holding the controller. While adding the color, the bits with white color are brighter and the ones with black appear to be muted.
- The more layers you use you can try out various shades and designs. In the end, if it’s somewhat dull wait for the highlighting part.
Painting: Splattering Some Constellations
- Practice is very important here. Once you open the spray bottle to splatter try it out somewhere else to see its consistency.
- Concentrate on the lighter bits. You can also try out some transparent colors for the stars.
Painting: Adding Some Lightning!
- You can use light opaque paint in the middle of a nebula. Be aware you can clear up the layers applied earlier.
- Draw a wiggly line with the help of a white ink pen. You can extend the lightning even till the Nebular if want.
- Any mistakes can be covered by airbrush ink. You can also add highlights on the edges if needed.
- Using more colors will make the controller more colorful& vibrant. Use less ink on the brush to avoid mess.
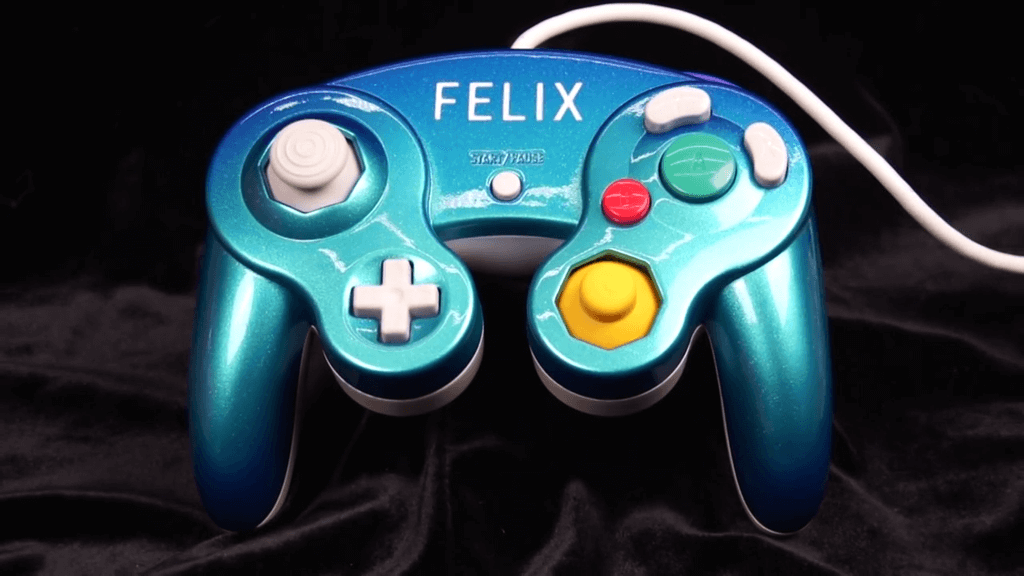
Painting: The Center Design
- If you like it, you can draw a design of your choice in the middle of the controller.
- For that use white controller paint to draw the shape of whatever you want on the controller. Make the base color of your design by using markers or inks.
- Add finger details by using a thin brush. Now add thicker opaque inks to make it more vibrant.
Finally: A Protective Lacquer Coat
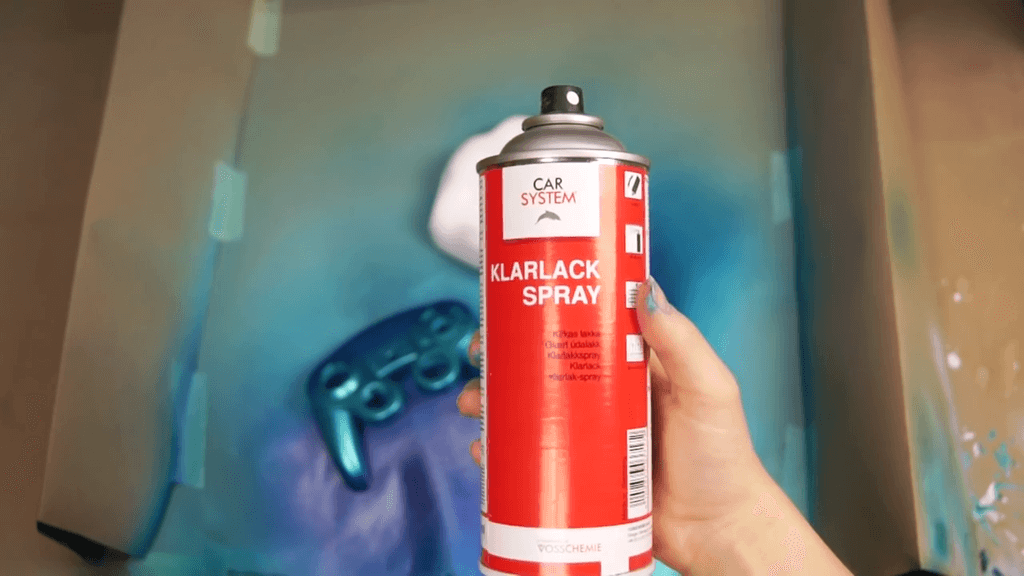
- Lacquering also known as varnishing is a priming layer that is transparent. But try applying thin layers to avoid dripping or pooling caused by thick layers.
- There are two options for lacquering one is a glossy one which means shiny and the other one is the matte one which is not. Shake the lacquer can well before using it for each layer.
- Once everything is done you have to make sure to scrape or sand off the surface in order to fit the two halves without getting any button stuck in the middle of it.
- Scrape lightly until the plastic is seen rarely. For the insides, use sandpaper or glasspaper lightly to rub towards the center.
Conclusion
In this blog, we have seen how to paint a GameCube controller and we have made all the efforts to provide you with the best possible knowledge and methods regarding the same.
You can try out many other design patterns on your controller & share them on social media. All suggestions are openly accepted.
Happy painting, Happy gaming!